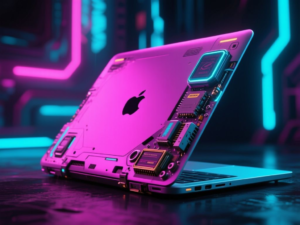
The project of retrofitting an old MacBook with contemporary hardware demonstrates a blend of nostalgia and innovation. This endeavor involves taking a first-generation MacBook and integrating it with modern components to create a functional device.
Project Inspiration and Initial Steps
The inspiration for this project stemmed from various articles and videos about upgrading old computers with new technology. After researching motherboards and display panels, the creator decided to proceed with the project by acquiring several used black polycarbonate MacBooks (model A1181) from eBay. These units were non-functional and lacked batteries, serving primarily as test subjects.
Component Selection and Assembly
The main components chosen for the retrofit include a Framework Laptop 13 Mainboard featuring an Intel® Core™ i7-1280P processor, along with 64GB of DDR4 RAM. A CSOT display panel was also selected for the visual output. Various peripherals such as USB hubs and a webcam were integrated into the design.
One of the initial challenges was to retain the original keyboard and trackpad functionality. The creator successfully soldered a USB cable to the case’s circuitry, allowing the use of the Apple keyboard and trackpad. This marked the first experience with soldering, which proved to be a learning curve.
Structural Modifications and I/O Integration
To accommodate the new components, the original brass standoffs were replaced with 3D-printed alternatives. The assembly involved careful placement of the mainboard and peripherals, ensuring that the fan exhaust was optimally positioned. The I/O ports were a significant hurdle, requiring custom 3D-printed standoffs and an I/O shield to fit the new USB hubs.
On the right side of the chassis, a USB-C hub was installed, utilizing the existing space left by the old DVD drive. Connections between the hubs and the mainboard were achieved using flat USB-C cables, while the power button was adapted to work with the new setup.
Final Assembly and Outcome
After extensive modifications, including the integration of a custom LED for the iconic glowing Apple logo, the project culminated in a functional retrofitted MacBook. The creator noted that the entire process took approximately three months, providing valuable experience in soldering and 3D modeling.
This project not only revived an old device but also served as a platform for learning new technical skills. The creator expressed a desire to improve certain aspects, such as creating custom PCBs for better I/O options in future endeavors.
This article was produced by NeonPulse.today using human and AI-assisted editorial processes, based on publicly available information. Content may be edited for clarity and style.